Tile and grout aging issues include moisture-related damage, dirt stains, and chemical etch marks. Early visual inspection is crucial for identifying problems like cracks or discolored grout. Preparations involve cleaning, protecting surrounding areas, and gathering necessary tools. Systematic restoration includes vacuuming, specialized cleaners, and rinsing to remove grime. Professional restorers use expert techniques to repair and replace damaged tiles/grout as needed. Regrouting with matching high-quality grout revives the surface's aesthetic appeal. Ongoing care involves regular cleaning, sealing every 1-2 years, and periodic inspections for wear and damage.
Looking to revive your outdated tiles and grout? This comprehensive guide on how to restore old tile and grout delves into the intricate process of professional restoration. From understanding the aging process of tiles and grout, to assessing damage through visual inspection, we cover it all. Learn effective preparation methods, discover cleaning techniques for optimal results, and explore repair strategies including re-grouting with the right materials. Gain insider tips on final touches and maintenance for longevity.
Understanding Tile and Grout Aging: Causes and Effects
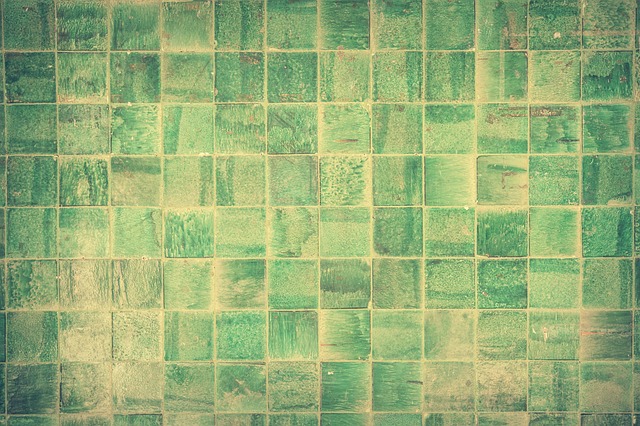
Tile and grout, often seen as a simple flooring solution, can age and deteriorate over time, leading to an uninviting and outdated appearance. Understanding the causes and effects of this aging process is crucial when considering how to restore old tile and grout. Several factors contribute to their decline, including exposure to moisture, dirt, and various chemical substances.
Moisture, for instance, can seep into the grout lines, causing it to expand and contract with changing humidity levels. This movement weakens the grout’s bond with the tiles, leading to cracks and gaps. Meanwhile, dirt and grime buildup on the tile surface and in the grout lines can make the area appear stained and discolored. Additionally, harsh cleaning chemicals or accidental spills may etch into the tile, creating unsightly etch marks. Identifying these issues early is key, as prompt restoration techniques can help revive the tiles and grout to their former glory.
Assess the Scope of Restoration: Visual Inspection
When considering how to restore old tile and grout, the first step is a thorough visual inspection. This involves closely examining the entire tiled area for signs of damage or degradation. Look for chipped, missing, or loose tiles, as well as discolored or disintegrating grout. Note any areas where moisture is present, as this could indicate underlying issues like leaks that need addressing.
During this visual assessment, pay special attention to corners and edges, as these are common problem zones. Check for uneven tiles or grout lines, which might suggest settlement or shifting. This initial step is crucial in determining the extent of restoration work required, whether it’s a simple re-grouting or a more complex repair and replacement process.
Preparation for Restoring Old Tile and Grout

Preparing your old tile and grout for restoration is a crucial step in achieving optimal results. Start by thoroughly cleaning the surface to remove any dirt, grease, or stains that have accumulated over time. This can be done using a mild detergent and a soft-bristled brush, ensuring you pay extra attention to corners and crevices where grime tends to hide. Once the area is clean, inspect for damaged or missing tiles and grout, taking note of the extent of the repair needed.
Before beginning any restoration work, gather all the necessary tools and materials, including a grout saw for removing old grout, tile cleaning solutions, and a sealer to protect the restored surface. Protect nearby areas with drop cloths to prevent mess and ensure proper ventilation to avoid inhaling harsh chemicals. By taking these preparatory measures, you’ll be well-equipped to successfully restore your old tile and grout, bringing new life to your space.
Cleaning Techniques for Optimal Results

Restoring old tile and grout involves more than just a quick scrub. Effective cleaning techniques are crucial for achieving optimal results. Start by removing any loose debris or dirt using a vacuum or brush attachment to ensure a thorough clean. Next, apply a suitable cleaner designed for tiles and grout, following the product’s instructions for application and contact time. For stubborn stains, consider using a mixture of baking soda and water or specialized tile and grout cleaners that contain enzymes or acidic components.
Aging tiles and grout often require deeper cleaning methods. Soft-bristled brushes or sponges can help agitate and dislodge tenacious grime. In areas with heavy staining, use a mild abrasive cleaner or a damp cloth to gently scrub away built-up residue. Remember to rinse thoroughly after each cleaning step to eliminate any cleaner residue that could affect the tile’s appearance or cause further damage.
Repairing and Replacing Damaged Surfaces

When it comes to professional tile restoration, repairing and replacing damaged surfaces is a critical aspect. The process begins with meticulously assessing the extent of damage, which could range from chipped or broken tiles to discolored grout. Experienced restorers use specialized tools and techniques to remove any loose debris, ensuring a clean slate for the next steps.
How to Restore Old Tile and Grout involves a careful blend of craftsmanship and chemical expertise. Professionals may apply specific cleaning solutions to eliminate stains while rejuvenating the tile’s original gloss. In cases of severe damage, partial or complete replacement of tiles and grout might be necessary. This ensures not just visual appeal but also structural integrity, making the space safe and inviting once more.
Re-grouting: Choosing the Right Materials

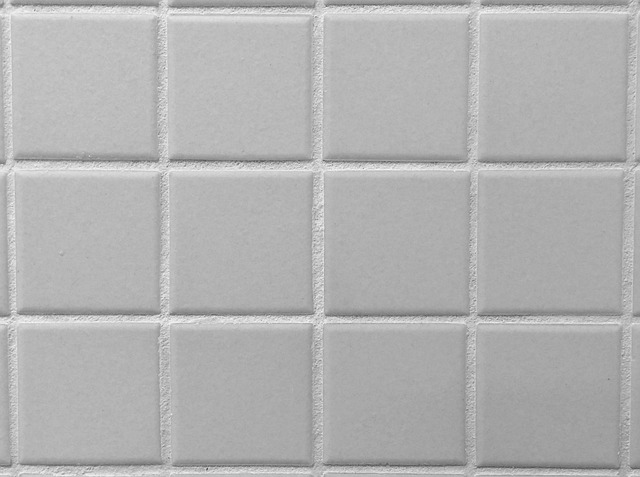
When undertaking tile restoration, especially for older tiles and grout, one crucial step is regrouting. The selection of appropriate materials is key to achieving a lasting and aesthetically pleasing result. For how to restore old tile and grout, opt for high-quality grout that matches the existing color and texture. This ensures a seamless blend, revitalizing the overall look without compromising durability.
Using the right tools is equally important; a suitable grout sponge or trowel will make the application process more efficient. Ensure a clean work area and allow sufficient time for drying before walking on or using the restored tiles. Proper preparation and material choice are fundamental in successfully restoring old tile and grout, bringing new life to tired surfaces.
Final Touches and Maintenance Tips for Longevity

After meticulously cleaning and restoring your old tiles, it’s crucial to understand that proper maintenance is key to longevity. How to restore old tile and grout involves ongoing care to prevent future damage. Regular mopping with a mild detergent and warm water will help maintain their brilliance. For tougher stains, a mixture of baking soda and vinegar can be used as a natural cleaner.
In terms of protection, applying a sealant every 1-2 years is recommended. This step seals the grout and tiles, shielding them from moisture intrusion which can cause damage over time. Additionally, keep an eye out for any signs of wear or damage and address them promptly. Regular inspection will ensure that minor issues don’t turn into major problems, preserving the beauty and durability of your restored tile work.