
Tile and grout care is vital for maintaining home aesthetics and durability. Regular cleaning, sealing, and addressing stains prevent damage from dirt, moisture, and mold. Restoring old tile and grout involves preparation, tools (grout brush, vacuum/power washer, cleaning solutions), and a strategic process: vacuum/scrub, remove old grout, re-grout, seal. Following these steps, along with monthly deep cleaning, enhances longevity and appearance, ensuring vibrant, resilient flooring. This DIY project significantly improves spaces' overall aesthetic appeal.
Tile and grout are integral parts of any home or commercial space, adding aesthetic value and durability. However, over time, they can show signs of aging and damage, requiring proper care to restore their original charm. This article delves into the intricacies of professional grout and tile care, offering practical guidance on understanding wear and tear, preparing for restoration, revitalizing old tiles and grout, and maintaining these surfaces for longevity. By following our step-by-step guide, you’ll learn how to restore old tile and grout like a pro.
Understanding the Importance of Tile and Grout Care
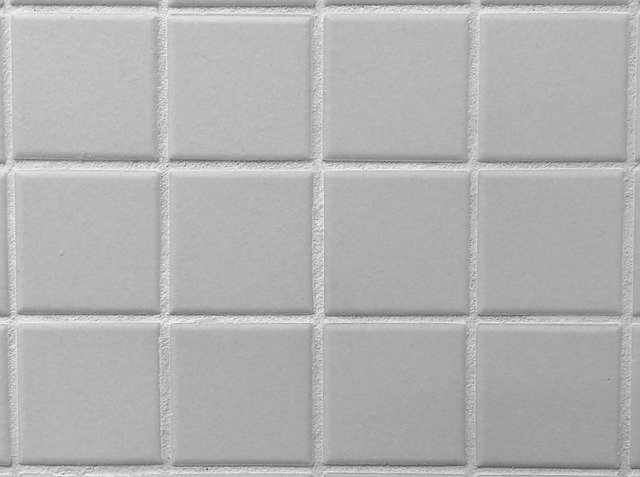
Tile and grout care is an often-overlooked aspect of home maintenance, but it’s crucial for keeping your spaces looking their best. Over time, tiles can become stained, discolored, or damaged, while grout lines accumulate dirt, mold, and mildew. Regular cleaning and maintenance can prevent these issues from escalating, saving you the cost and hassle of extensive repairs or replacements. Understanding how to restore old tile and grout is essential for maintaining the aesthetics and longevity of your flooring.
Proper care involves a combination of regular cleaning with mild detergents, sealing grout lines to prevent moisture intrusion, and deep-cleaning to address stubborn stains. By investing time in these tasks, you can extend the life of your tiles and grout, ensuring they remain vibrant and durable for years to come.
Identifying Signs of Aging and Damage

Over time, tiles and grout can show signs of aging and damage, which may require restoration to revive their original look. Some common indicators include discolored or stained grout lines, peeling or chipping tiles, and uneven surfaces. These issues often arise due to exposure to moisture, dirt, and environmental factors.
To restore old tile and grout, it’s essential to address these problems promptly. Regular cleaning and sealing can prevent damage and maintain the longevity of your flooring. If significant wear and tear occur, professional restoration techniques such as regrouting and tile repair may be necessary. How to Restore Old Tile and Grout involves careful inspection, appropriate cleaning methods, and sometimes, material replacement to ensure a seamless and aesthetically pleasing finish.
Preparation: Tools and Materials Required

Restoring old tile and grout is a process that requires the right tools and materials for optimal results. Before you begin, gather your supplies to ensure a smooth and efficient cleaning. You’ll need a good quality grout brush or wire brush to scrub away any built-up grime, along with a vacuum cleaner or power washer to remove loose debris. For cleaning solutions, consider using a mixture of warm water and mild detergent or a specialized tile and grout cleaner. Don’t forget protective gear like gloves and goggles to safeguard your hands and eyes from harsh chemicals. Additionally, have a bucket for soaking the brush and a sponge or cloth for wiping down the tiles once cleaned. Proper preparation is key to achieving a fresh and revitalized look for your tiled surfaces.
Restoring Old Tiles: Step-by-Step Guide
Restoring old tiles and grout can breathe new life into your space, enhancing its aesthetics and durability. Here’s a step-by-step guide on how to restore old tile and grout effectively:
1. Preparation: Begin by clearing the area of any furniture or debris. Protect yourself with gloves, safety glasses, and a mask for a safe cleaning process. Gather all necessary tools: a vacuum cleaner with a brush attachment, a grout saw or utility knife, a wire brush, a bucket filled with warm water, a mild detergent, a sponge, rags, and grout sealer.
2. Clean the Tiles and Grout: Start by vacuuming the tiles to remove any loose dirt and debris. Next, use the wire brush to scrub away stains from both the tiles and grout. Apply a small amount of mild detergent to the sponge, dampen it, and gently clean the surfaces. Rinse thoroughly with warm water. Dry the area completely before proceeding.
3. Remove Old Grout: Using the grout saw or utility knife, carefully scrape away the old grout between the tiles. Take your time to avoid damaging the tile surfaces. Once the grout is removed, use a vacuum cleaner to suck up any remaining debris.
4. Prepare Fresh Grout: Follow the manufacturer’s instructions to mix new grout according to the required consistency. Use a trowel to apply the fresh grout into the gaps between the tiles. Ensure it’s packed tightly and even with the tile surface.
5. Seal and Finish: After the grout has set (as per the manufacturer’s guidelines), seal it with a suitable grout sealer using a clean rag or sponge. This step protects against stains and water damage. Lastly, allow the tiles to cure completely before walking on them or reintroducing furniture.
Revitalizing Grout: Techniques and Best Practices

Revitalizing grout is a great way to bring new life to old tiles, making your space appear refreshed and renewed. The process involves several techniques, from cleaning to re-grouting, all tailored to the specific condition of your tile and grout. Start by thoroughly cleaning the tiles and grout using a mixture of warm water and a mild detergent. This removes dirt, stains, and grime that may have built up over time. Next, inspect the grout lines for any damaged or missing grout, which will need to be removed and replaced.
After preparing the surface, it’s time to re-grout. Use a grout tool to apply fresh grout into the cleaned and repaired grout lines. Ensure you fill the lines evenly, pressing firmly to create a strong bond with the tiles. Allow the grout to set according to the manufacturer’s instructions before sealing it with a suitable sealer for protection against moisture and stains. With proper care and regular cleaning, revitalized grout can last for years, enhancing your tile’s aesthetic appeal and durability.
Maintenance Tips for Longevity

Regular maintenance is key to keeping your tile and grout looking like new for years to come. A simple, consistent cleaning routine can prevent buildup and make it easier to restore old tile and grout when necessary. Use a soft-bristled brush or sponge to wipe up any spills or dirt promptly. Avoid using harsh chemicals, as they can damage the grout and tile finish. Instead, opt for natural cleaning solutions like vinegar or baking soda, which are safe and effective.
Deep clean your tile and grout surfaces monthly to remove any embedded grime or stains. Apply a mild detergent or grout cleaner with warm water, then scrub thoroughly using a grout brush. Rinse well with clean water and dry completely. This proactive approach will not only maintain the appearance of your tiles but also extend their lifespan by preventing damage from dirt and moisture buildup.